






AI background removal workspace

Green Screen Remover Online

Use this green screen remover to remove green screen from video, inspect moving edges, and export a transparent result or add your own background image.

Free short-clip processingPremium transparent outputCustom image backgrounds

Background

A Green Screen Remover for Everyday Video Work

The green screen remover keeps the workflow focused: upload footage, separate the subject, compare the moving result, and choose the background that fits the finished edit.

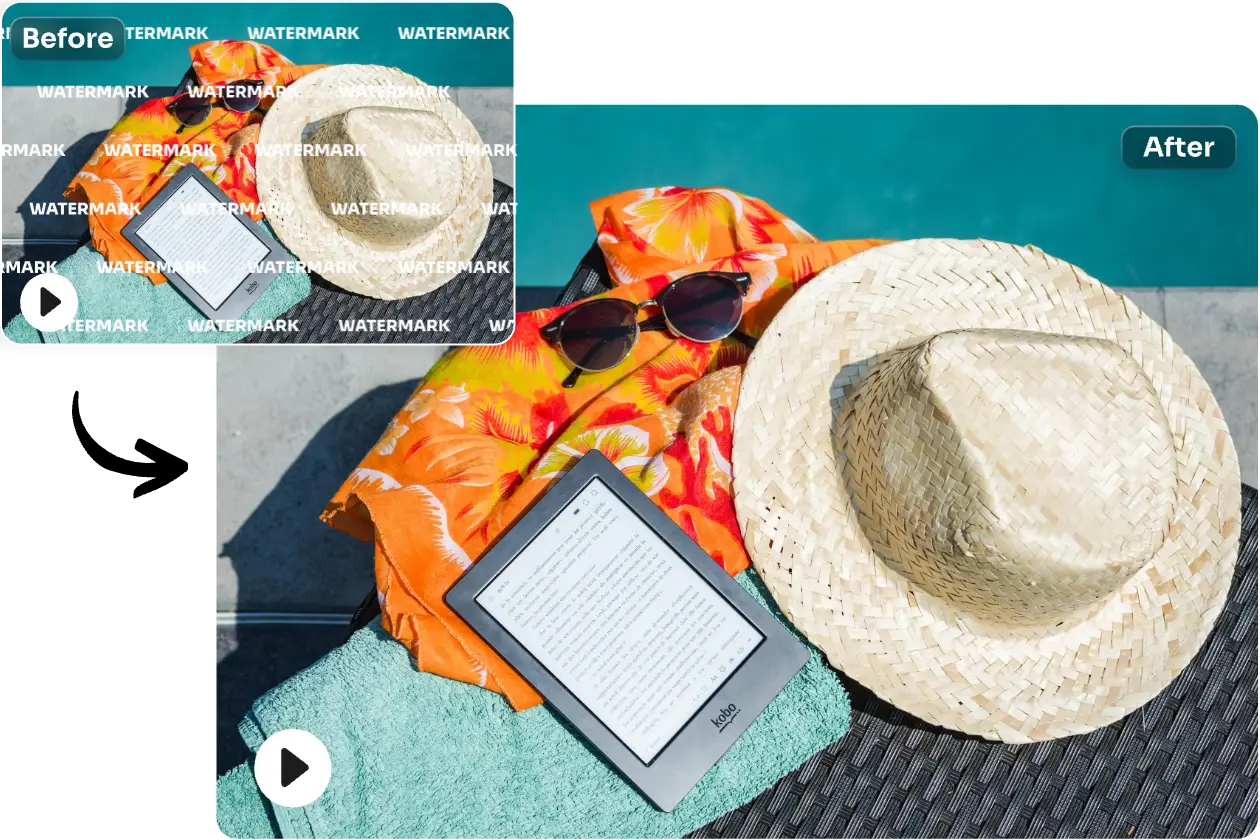
Remove Green Screen from Video for Social Content

Remove Green Screen from Video for Social Content - BeforeRemove Green Screen from Video for Social Content - After
BeforeAfter

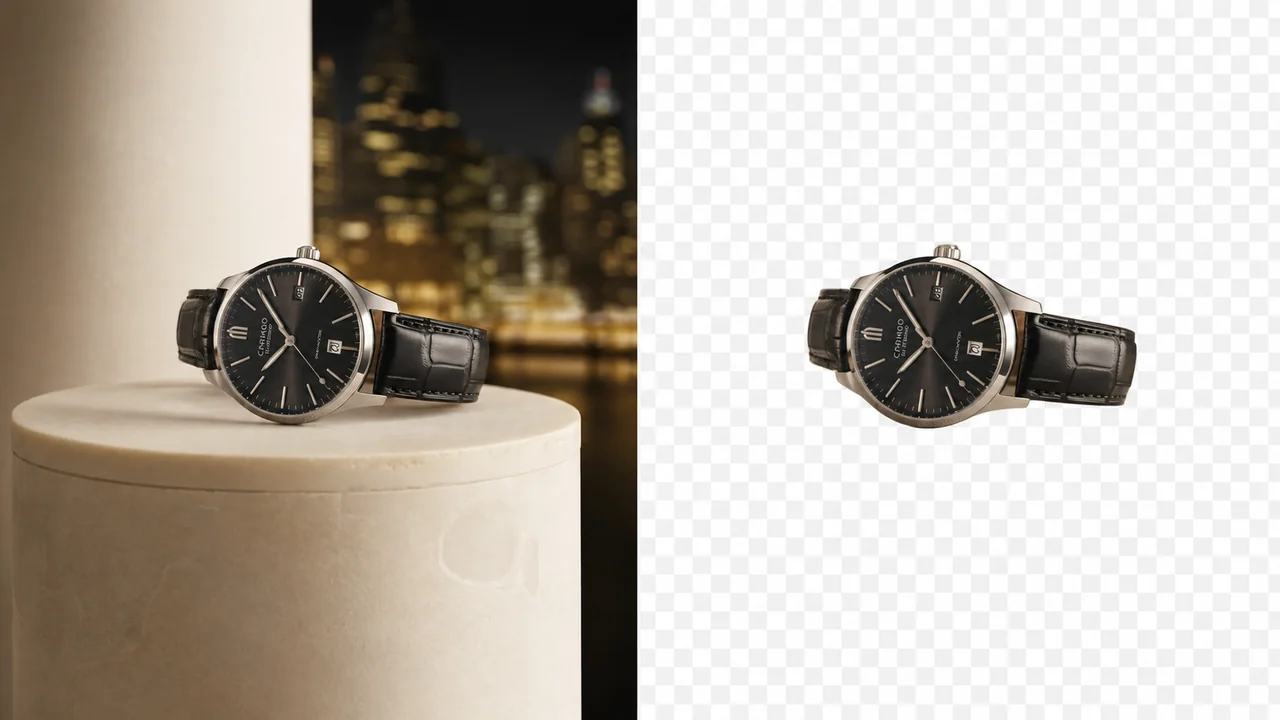
Remove Green Screen from Video for Social Content

Turn a studio take into a flexible social clip without rebuilding the shot. The green screen remover isolates the person or product so you can review hair, hands, props, and quick gestures before downloading. Remove the green backdrop, remove visible green spill, and remove unwanted edge color before another editor finishes the composition or a prepared image is added.

Prepare Cleaner Product and Presenter Cutouts

Prepare Cleaner Product and Presenter Cutouts - BeforePrepare Cleaner Product and Presenter Cutouts - After
BeforeAfter

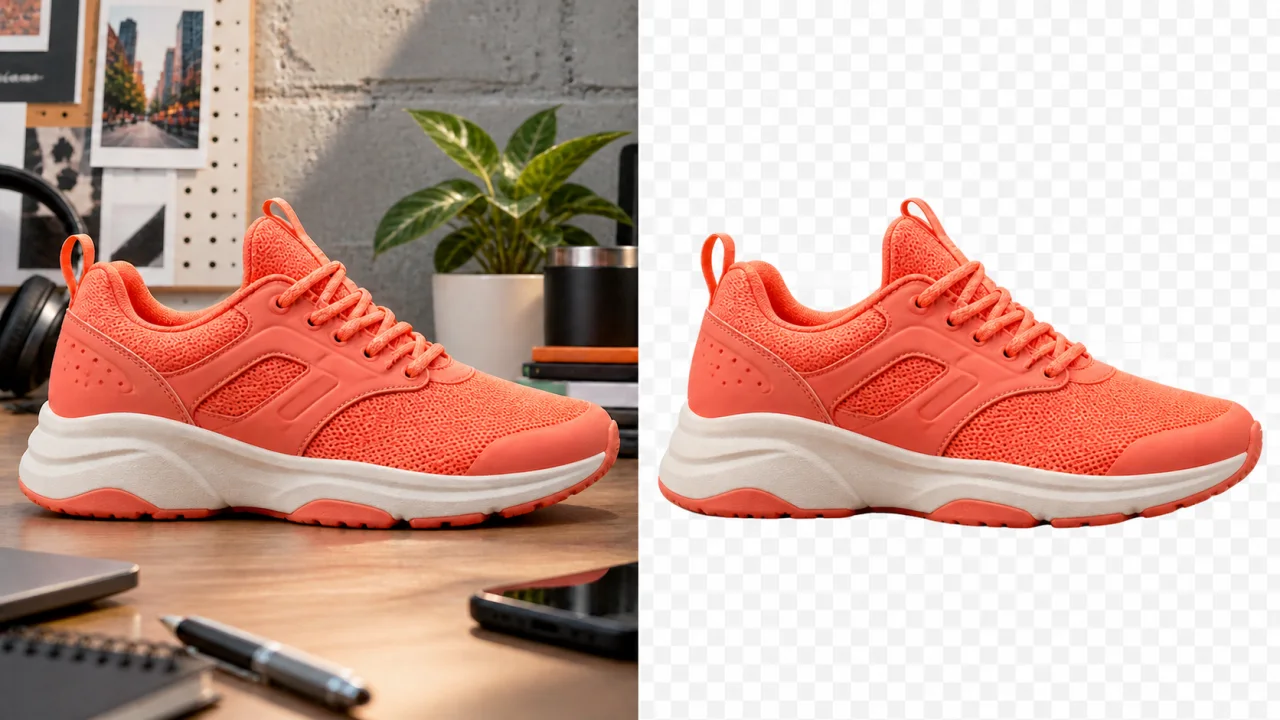
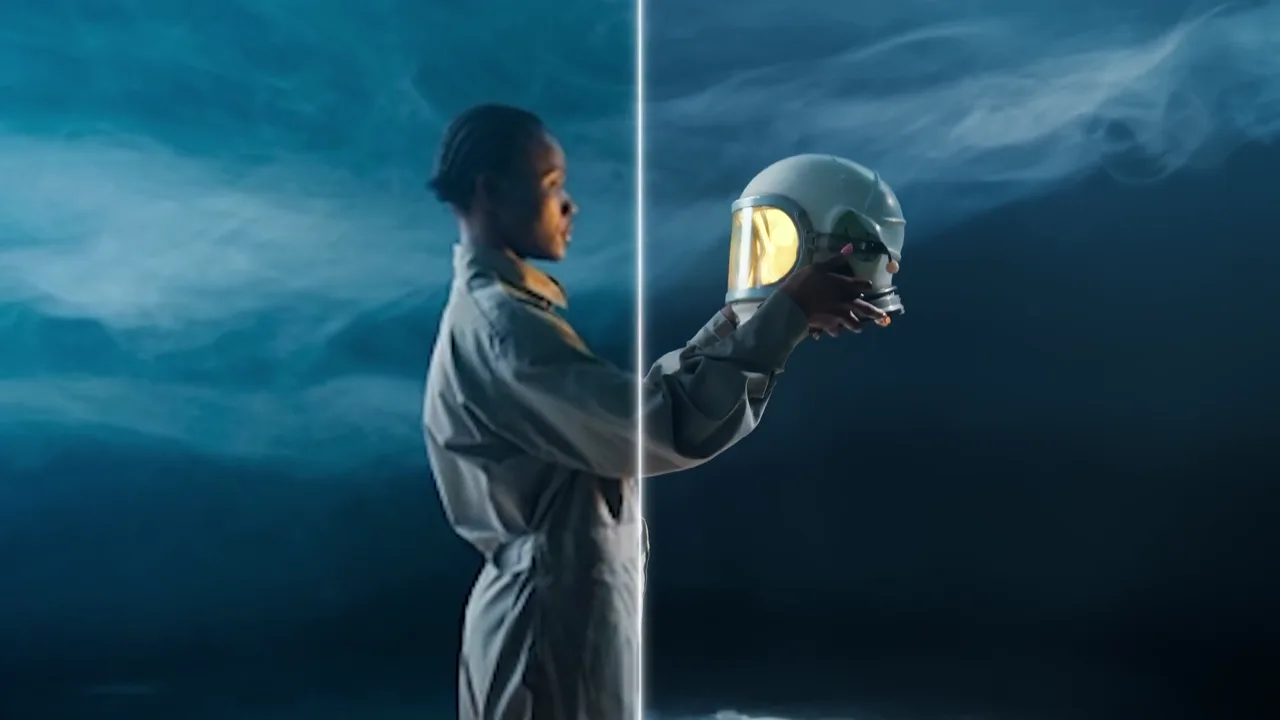
Prepare Cleaner Product and Presenter Cutouts

A consistent backdrop helps the model find a clear boundary, but real footage can still include shadows, reflections, fabric movement, and uneven lighting. This green screen remover lets you inspect the whole clip instead of judging one still frame. Remove uneven green areas, remove reflections, and remove stray green pixels before using the result in a product page, presentation, advertisement, or tutorial.

Keep the Next Editing Step Flexible

Keep the Next Editing Step Flexible - BeforeKeep the Next Editing Step Flexible - After
BeforeAfter

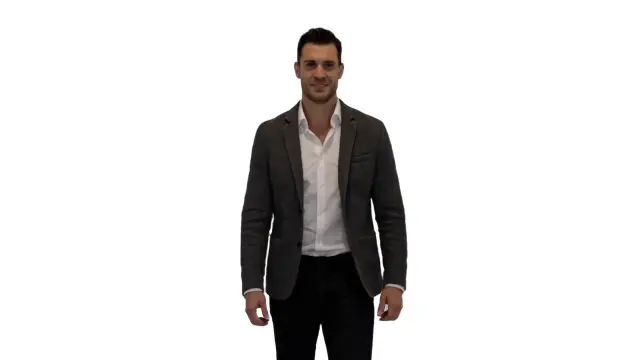
Keep the Next Editing Step Flexible

When you need to remove green screen video backgrounds for a larger production, decide where the final composition will happen. Remove the green field, remove edge contamination, and remove the remaining backdrop before exporting transparency or placing an approved PNG, JPG, or WebP image behind the subject in Premium.

What This Green Screen Remover Helps You Do

Use the green screen remover as a practical workspace for testing a clip, reviewing the subject boundary, and preparing an output that fits the rest of your editing process.

AI Subject Separation

Separate the main subject from the surrounding green area without drawing a mask frame by frame. Remove the green area, remove spill, and remove unstable edge fragments while reviewing motion, fine hair, translucent fabric, and reflected green light.

Motion-Aware Review

Use the green screen remover to play the processed clip instead of approving a single preview image. Remove green spill, remove brief gaps, and remove background shimmer that appears only when the person, camera, or foreground object moves.

Free Short-Clip Test

Try a short source in Free mode before committing a longer asset. Remove a short green section first, then remove the full green backdrop only after the representative test confirms that the source is suitable.

Transparent Premium Output

Create a transparent result when the next editor needs control over color, artwork, text, and scene placement. Remove the green source, remove edge color, and remove the backdrop before compositing motion graphics, presenter overlays, or virtual sets.

Remove Green Screen Video Backgrounds

Upload a PNG, JPG, or WebP image in Premium when you want the replacement included in the processed result. Remove the green background, remove mismatched pixels, and remove visible spill before checking the replacement perspective, light direction, and color.

Original-to-Result Comparison

Switch between the completed result and a before-and-after comparison. Remove the green backdrop, remove edge artifacts, and remove any leftover green while checking busy movement and fast gestures before downloading.

Three-step workflow

How to Remove Green Screen from Video

The green screen remover uses the same focused sequence for a quick test or a finished cutout. Remove the green background, remove spill, and remove unstable edges before choosing the output and saving the result.

1

1. Upload a Source Clip

Choose an MP4, MOV, MKV, or WebM file up to 100MB. For the clearest evaluation, select footage with stable exposure, useful contrast between subject and backdrop, limited motion blur, and enough resolution to inspect hair, hands, props, and clothing edges.

2

2. Choose Free or Premium

Use Free for a short review. Choose Premium for videos up to ten minutes when you need transparent output or want to upload a replacement PNG, JPG, or WebP image. The workspace shows the available controls before processing begins.

3

3. Compare and Download

Play the result through difficult movement, then use the comparison view to inspect the original boundary. This final green screen remover check helps you find fine-detail loss and color contamination before downloading, especially when the clip will be enlarged, projected, or placed over a high-contrast background.

Green Screen Remover FAQs

Practical answers about source preparation, supported outputs, edge review, and the difference between a quick test and a production-ready handoff.

How do I remove green screen from video online?

Upload a supported source clip, choose Free for a short test or Premium for longer processing and additional output options, then start the job. Remove the green backdrop, remove spill, and remove edge artifacts before downloading the finished result.

Can I remove green screen video backgrounds for free?

Free mode is designed for a short clip with about 200 frames or fewer, which is roughly six seconds at 30 FPS. It is useful for checking a representative section. Premium supports longer source videos and adds transparent output or an uploaded image background.

Does the green screen remover require a perfect backdrop?

No, but a clean and evenly lit backdrop gives the model clearer separation cues. Remove dark green folds, remove bright spill, and remove unstable reflections carefully when green clothing, motion blur, or semi-transparent material makes the boundary harder to interpret.

Which video formats can I upload?

To remove green screen from video, upload an MP4, MOV, MKV, or WebM source file up to 100MB. H.264 MP4 is recommended for broad compatibility. Premium supports source duration up to ten minutes, while Free is intended for a short preview section.

Can I export a transparent video?

Transparent output is available in Premium. It is the practical choice when the foreground will be placed later in another editor, motion graphic, presentation, virtual set, or campaign template. Always test the exported asset in the destination workflow before final delivery.

Can I replace green with my own background?

Yes. Premium accepts a PNG, JPG, or WebP image up to 10MB as the new background. Match its aspect ratio and visual perspective to the source when possible, and check whether lighting, focus, scale, and color make the combined scene feel coherent.

Why do edges sometimes look uneven after processing?

Fine hair, transparent fabric, fast hands, compression blocks, low resolution, and reflected green light can create unstable boundaries. Remove green reflections, remove edge noise, and remove the remaining green field while reviewing those moments in motion.

What should I check before downloading the result?

When you remove green screen video backgrounds, watch the full clip at normal speed, pause on fast movement, compare the original and result, and inspect hair, fingers, props, shadows, and reflective surfaces. Also confirm that the selected transparent or image background matches the next step in your project.

Try the Green Screen Remover on Your Next Clip

Start with a short test and review the subject through real motion. Remove the green backdrop, remove spill, and remove unstable edges with a final comparison before delivery.